
 ← All stories
STORM FILE · Stormchasing
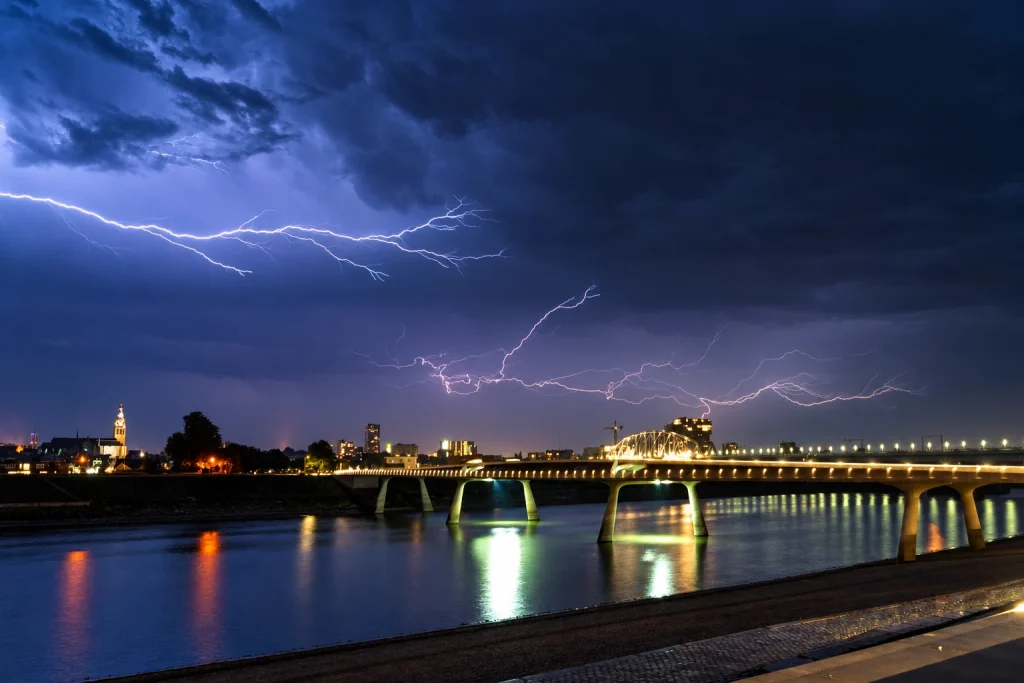
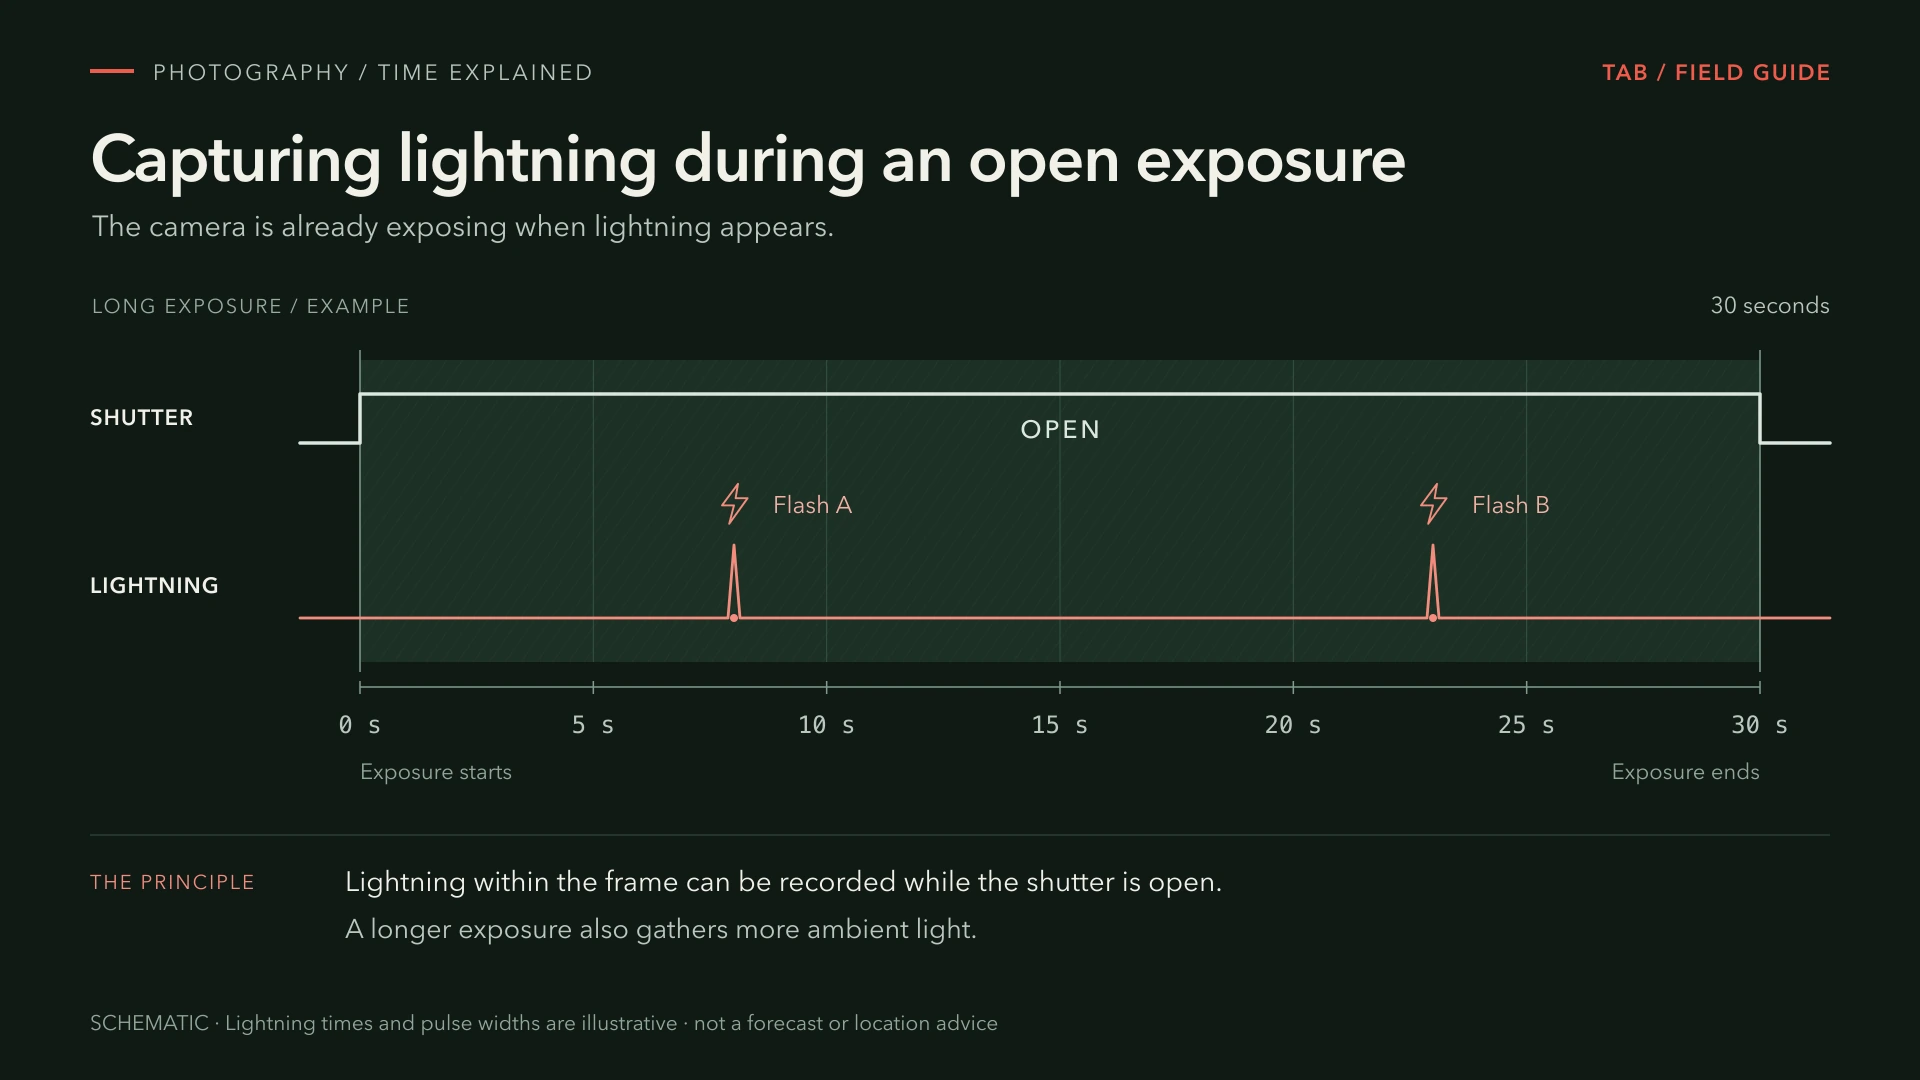
You do not have to press the shutter at the exact moment lightning strikes. At night, the camera can already be exposing when the flash appears. In daylight, the bright surroundings make this harder. Here is how I prepare my camera, the settings I start with and what to watch for on your first attempts. This guide covers cameras; phones deserve their own article.
Diesen Beitrag anhören
Dauer: 9 Minuten 25 Sekunden
MP3 herunterladen · 6,8 MBStimme und Quelle
Thorsten-Voice / Piper. Sprecher Thorsten Müller. Stimmaufnahmen unter CC0. Thorsten-Voice.
Listen to this article
Duration: 8 minutes 47 seconds
Download MP3 · 6.3 MBVoice credits
Alba / Piper. Alba speech corpus (2019), Cassia Valentini-Botinhao and Junichi Yamagishi, University of Edinburgh. Voice recordings licensed under CC BY 4.0 and used to train a synthetic voice. The article is by The Adventure Beyond.
Beluister dit artikel
Duur: 11 minuten en 4 seconden
MP3 downloaden · 8,0 MBStem en bron
Ronnie / Piper. Stemopnamen van OHF-Voice, beschikbaar onder CC0. Stemgegevens en bron.
01 / FIELD NOTE
Choose a safe place and a way back first
An open view of the sky helps, but do not choose an exposed hilltop, tower or other unprotected position. A lone tree, open shelter or tent will not protect you from lightning either. Plan your shot so you do not have to set up outside or wait for another flash when the storm is close.
As soon as you hear thunder, stop shooting outdoors and go into a substantial building or a fully enclosed vehicle with a metal roof. Stay there for at least 30 minutes after the last thunder. Keep the car windows closed. Fewer flashes, easing rain or a weather app do not mean it is safe. Actively intercepting storms is not a good first step when you are learning the camera technique. National Weather Service lightning safety guidance.
02 / FIELD NOTE
This equipment is enough to get started
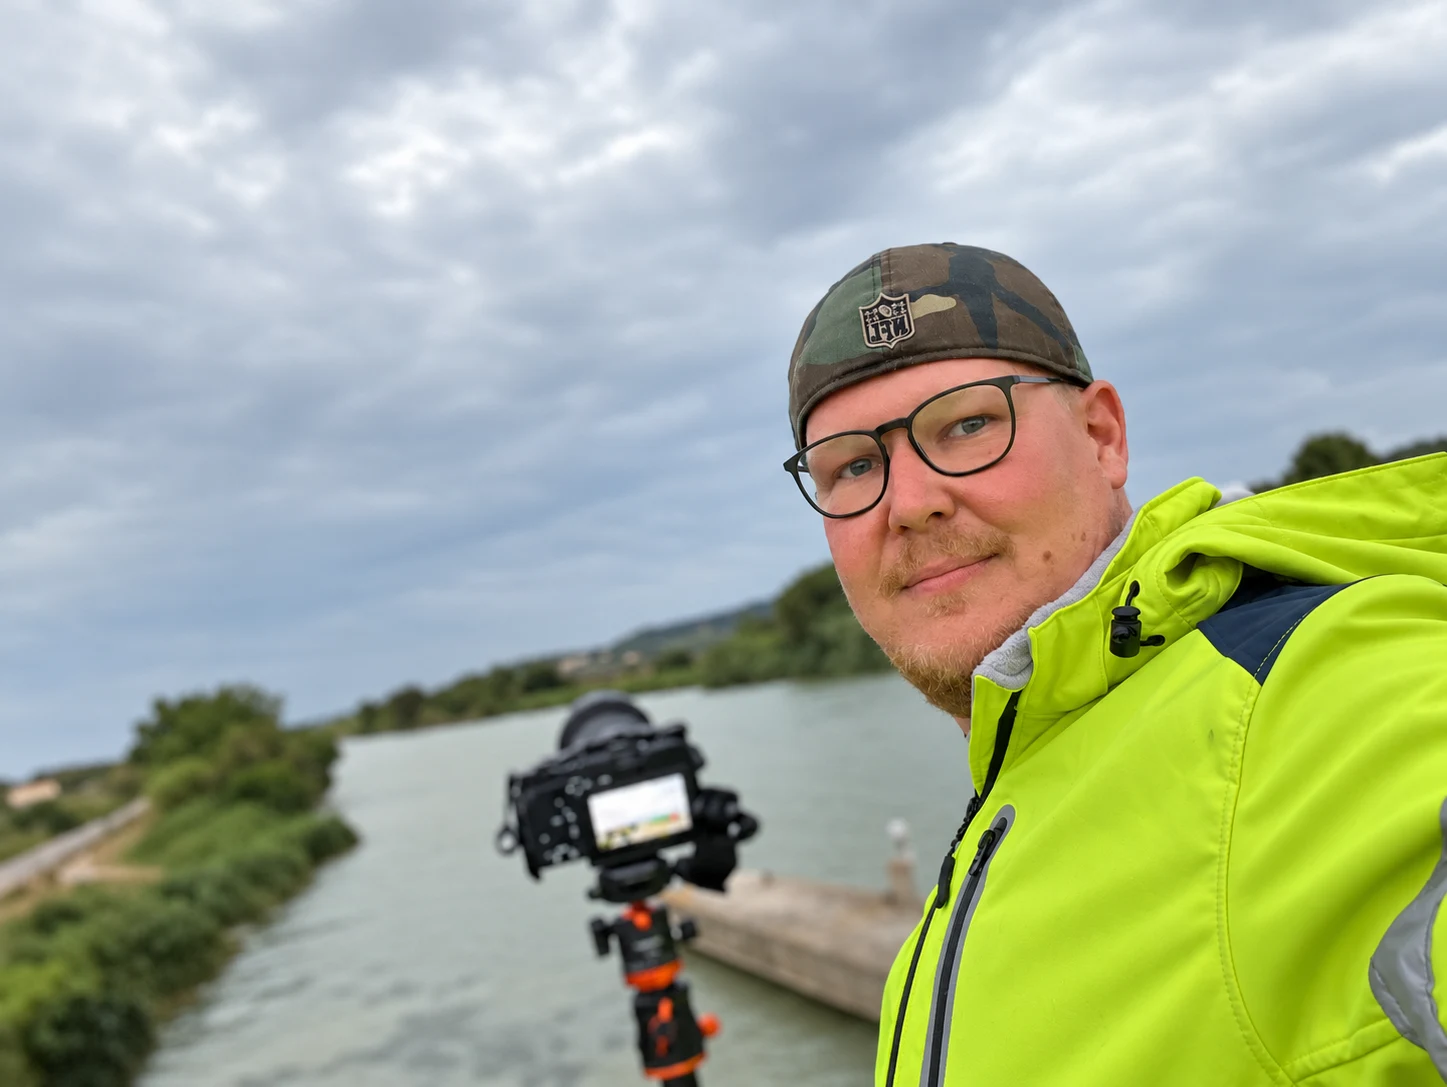
I use a Sony a6600 with a wide-angle lens and a tripod. This guide is not tied to that camera. What matters is manual exposure, manual focus and a stable setup.
- A camera with manual mode and a charged battery.
- A tripod that keeps the camera steady in the wind.
- A wide-angle lens to capture a larger part of the sky.
- A remote shutter release or the camera’s self-timer.
- Optional for daylight: an ND filter and a lightning trigger compatible with your camera.
03 / FIELD NOTE
Frame the shot and set focus
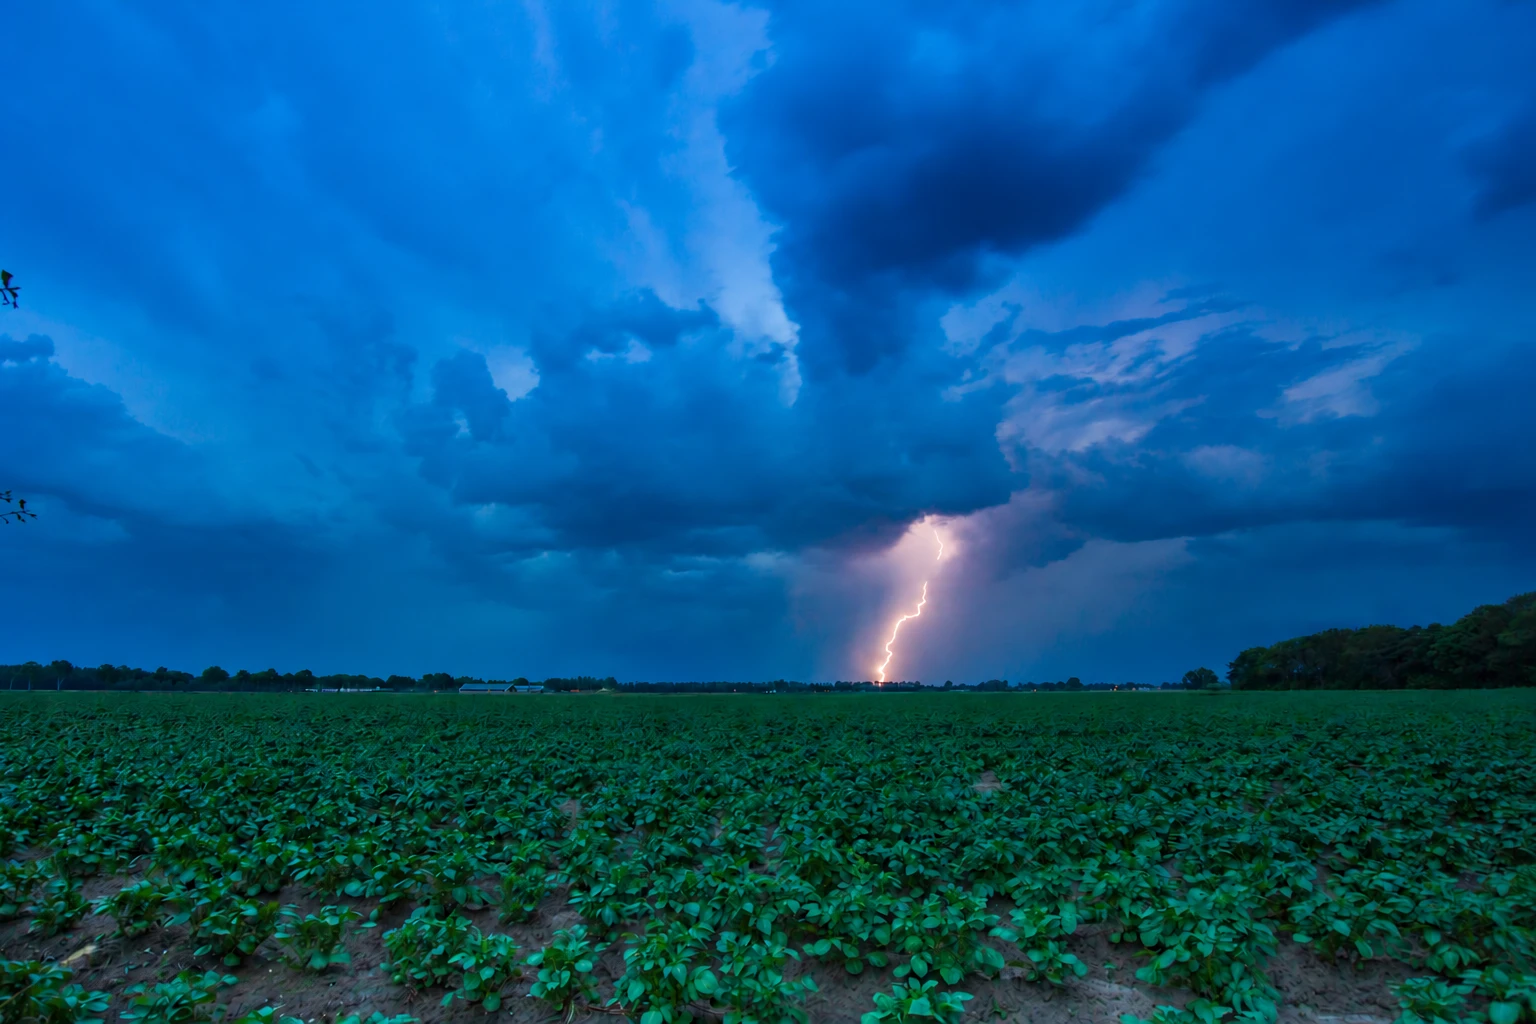
Point the camera towards the part of the sky where you can see lightning. A slightly wider frame gives you more room if the next flash appears elsewhere. A suitable foreground is nice, but you cannot always find one on location. There is no need to move to a less safe position for a more elaborate composition.
Focus manually on something far away. In the dark, infinity is a starting point, not a guarantee of a sharp image. If you can see a distant light or a clear edge of a building, use the viewfinder or screen magnification to check focus there. With an ND1000 filter, this is usually easier before you fit the filter. Check the focus again afterwards and do not let the camera hunt for focus with every shot. Guidance on manual focus for lightning photographs.
04 / FIELD NOTE
Start with a long exposure at night
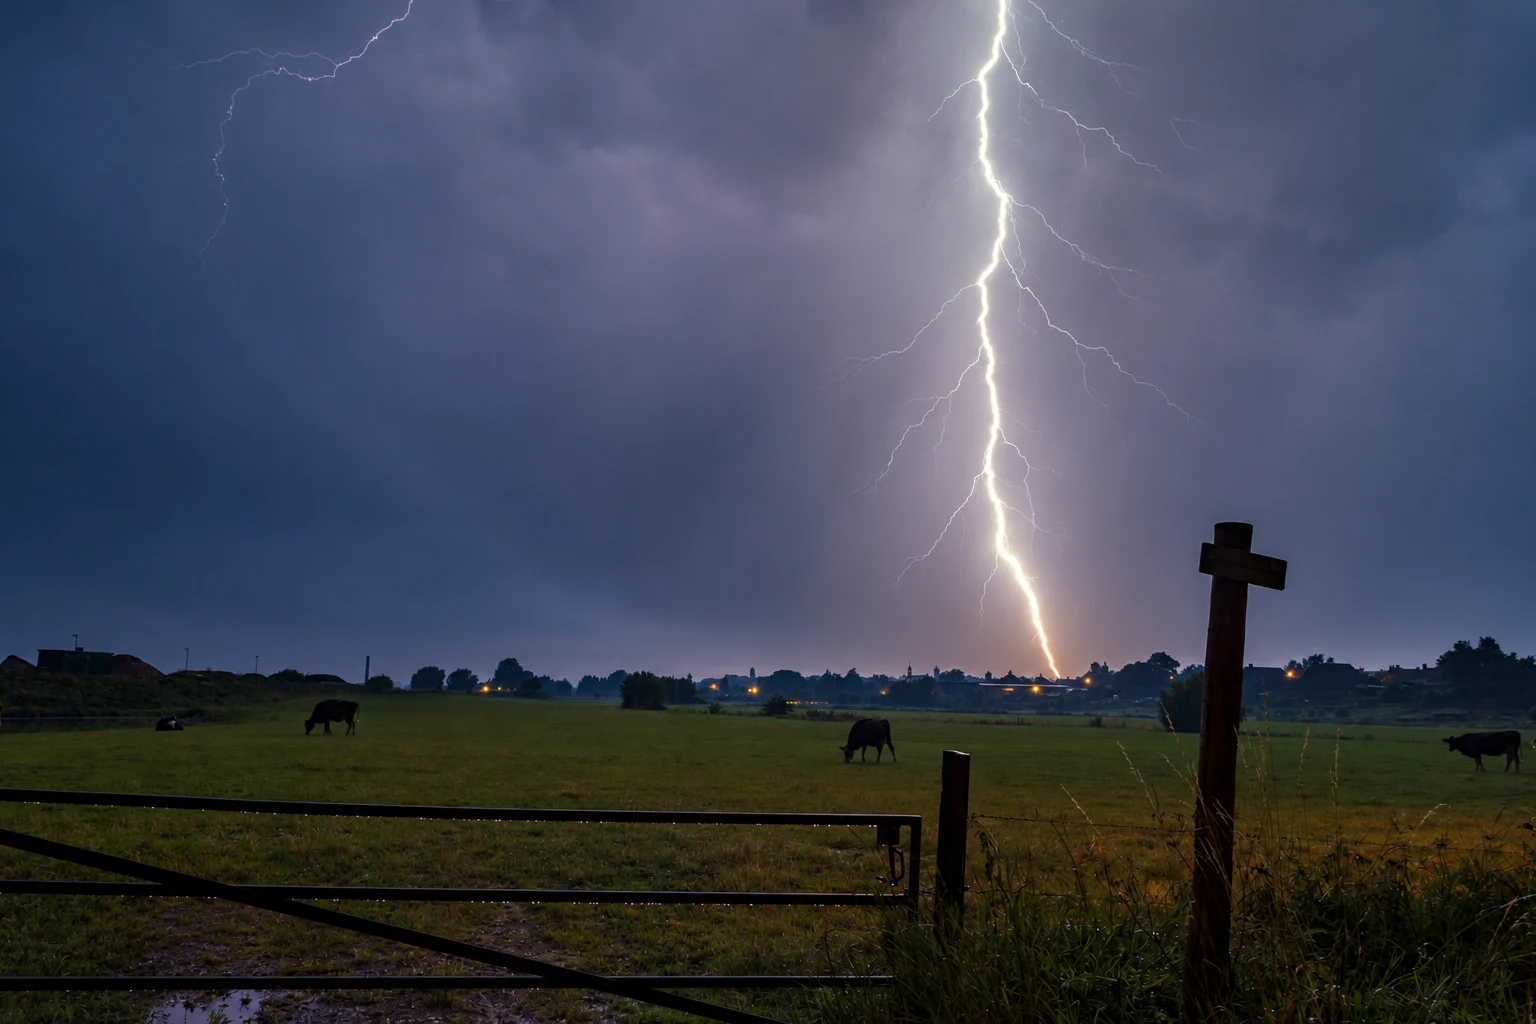
In the dark, I use exposures of up to 30 seconds, often at f/8. I adjust ISO to the ambient light; my personal upper limit is around 1200. For a first attempt, I would start much lower. These are starting points, not fixed settings for every storm.
| Setting | Starting point |
|---|---|
| Exposure mode | Manual, usually marked M |
| Aperture | f/8 |
| ISO | Start at 100; increase only if needed |
| Exposure time | Start around 10–15 seconds; shorter or up to 30 seconds depending on ambient light |
| Focus | Manual, checked on a distant subject |
Take a test shot first. If the sky is too bright even without lightning, shorten the exposure or lower ISO. If a captured flash is blown out and loses detail, try a lower ISO or a smaller aperture, such as f/11 instead of f/8. A longer exposure mainly gathers more ambient light; it does not make the lightning last longer. After your first successful shots, check both the lightning and the background.
05 / FIELD NOTE
Release the shutter without moving the camera
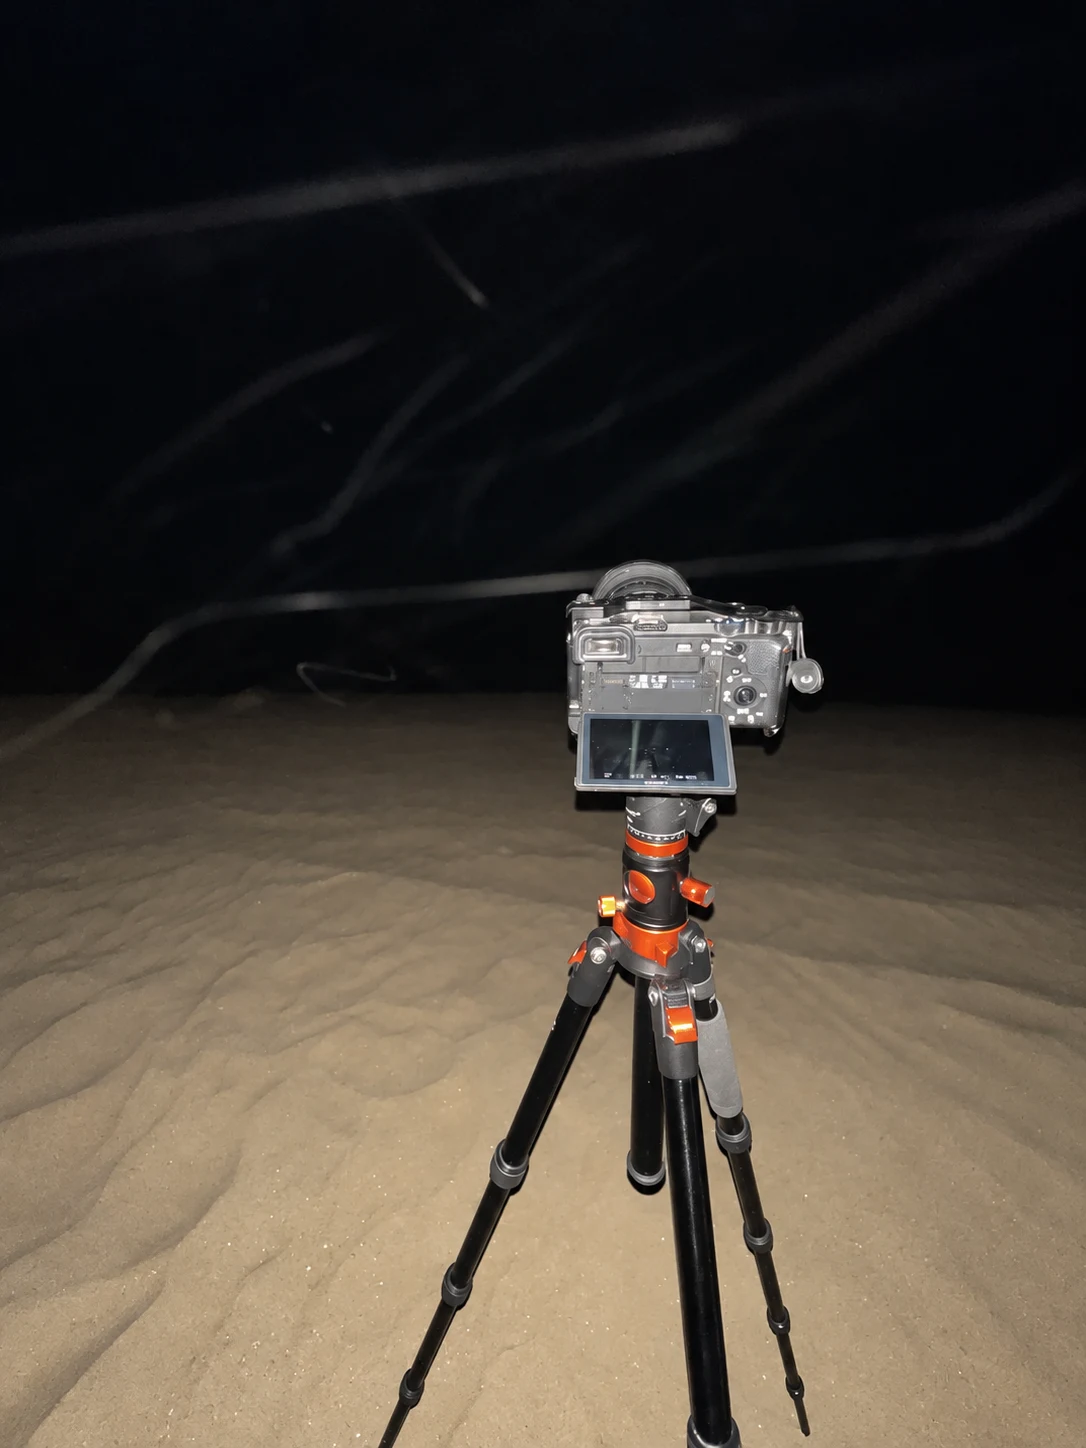
Pressing the shutter button can briefly shake the camera on its tripod. Use a remote release if you have one. Otherwise, a short self-timer delay helps. The Sony a6600 has a two-second timer for this. It gives the camera a moment to settle after you press the button. A shot taken without a remote is not automatically blurred. Sony a6600: self-timer.
A lightning trigger differs from an ordinary remote release: it detects a rapid change in brightness and sends a shutter signal to the camera. This can be especially useful in daylight. Focus and exposure still have to be right beforehand. The trigger, cable and camera must be compatible, and even then it will not catch every flash.
06 / FIELD NOTE
Try an ND1000 filter in daylight
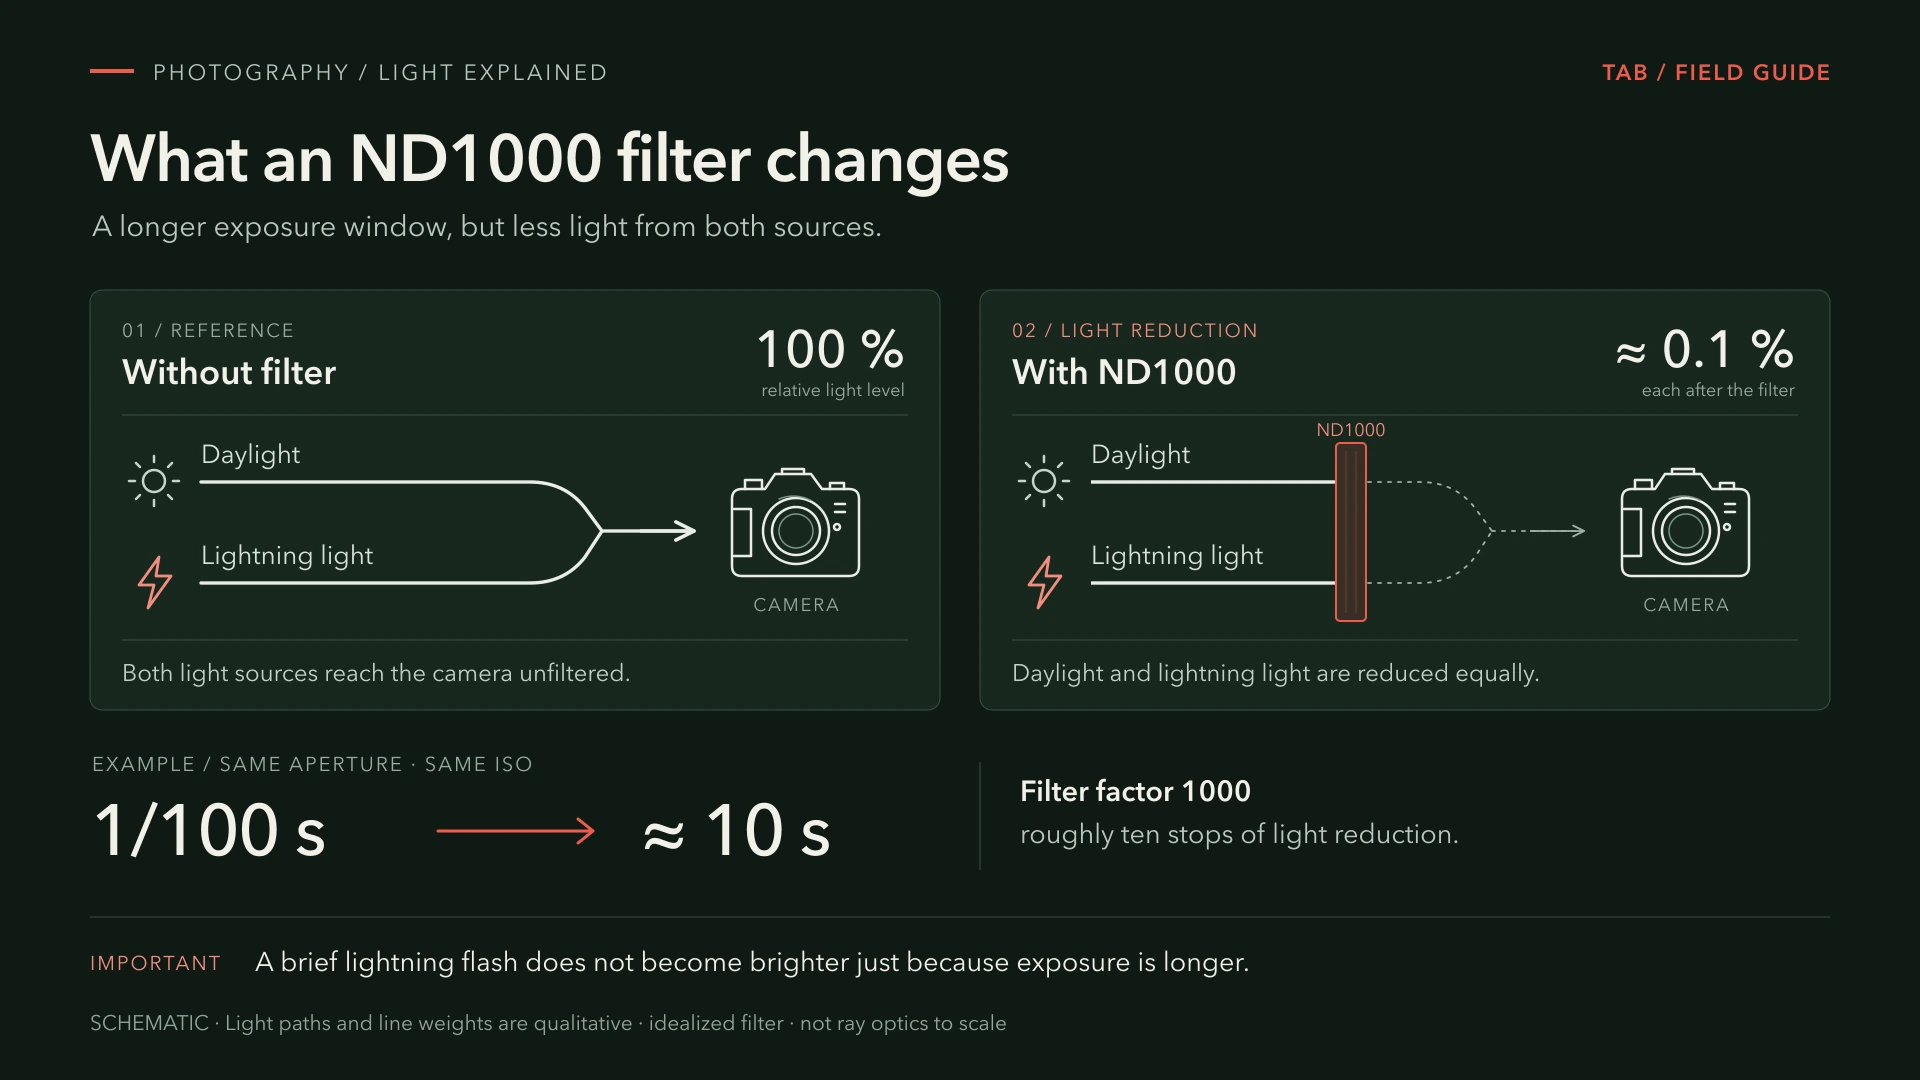
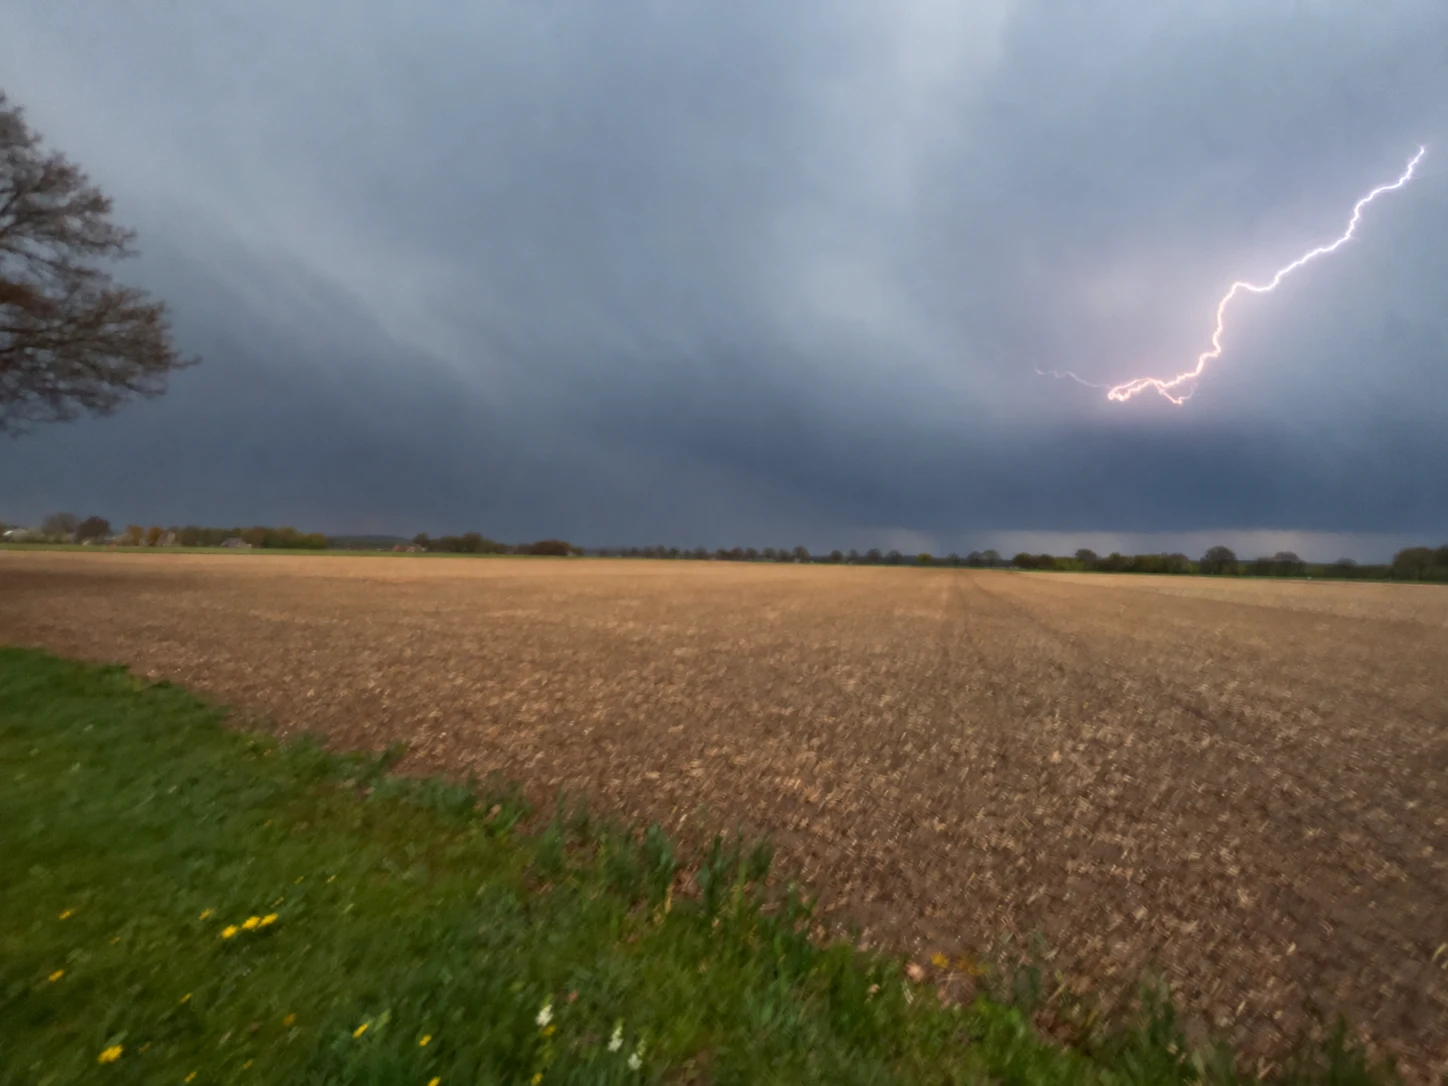
In daylight, I try an ND1000 filter. It reduces the light by about ten stops and makes longer exposures possible. If a suitable exposure without the filter is 1/100 second, the same aperture and ISO give roughly ten seconds with the filter. That is a calculation example, not a setting that works in every daylight situation. HOYA: ND1000 and light reduction.
The filter also dims the lightning. A weak or distant flash may barely show up. A longer exposure alone cannot compensate for this brief event. It is worth trying, but a strong ND filter is no guarantee of success. A suitable lightning trigger can be an alternative for shooting with a shorter exposure.
07 / FIELD NOTE
Check your first shots
Zoom in on a shot on the camera screen. Check whether fixed outlines are sharp, whether the lightning retains detail and whether raindrops cover the front element. Change just one setting at a time if you can. That way you can see what the change did. You may need new test shots as the ambient light changes.
In long exposures, I often like wind turbines less than I do with the naked eye. Their blades keep moving and become blurred or appear as smeared shapes. The red warning lights can stand out in the picture. That is not a camera fault. If this effect does not suit the image, try a different frame if you can do so from your chosen location.
08 / FIELD NOTE
Fewer flashes do not mean it is safe
If lightning rarely appears in your frame, waiting longer may no longer be worthwhile for the photograph. That does not make the storm safe. The number of visible flashes is not a reliable measure for deciding whether it is safe to be outside. One flash in ten minutes certainly does not prove that outdoor photography is safe again.
To get started, prepare the camera, tune the exposure with test shots and check the results. Not every frame will contain lightning. That is normal with this technique.
09 / FIELD NOTE
Before you shoot: a short checklist
- Check the weather and where you can take shelter. Do not photograph outdoors when you can hear thunder.
- Set up the camera securely, choose your frame and focus manually.
- At night, start with a low ISO, around f/8 and a suitable exposure time. Adjust after a test shot.
- Use a remote release or a short self-timer delay.
- Zoom in on successful shots and check sharpness, lightning and background separately.
You can find more of my storm drives and weather reports in the Stormchasing.
The photos come from my archive and were retouched with AI assistance; some details may therefore differ from the originals. They illustrate this guide and are not intended for technical analysis of lightning paths. The camera settings given here are starting values, not EXIF data from these photos. The two diagrams explain the principles schematically.
Updated: 27 October 2026.